Homemade Pea Milk
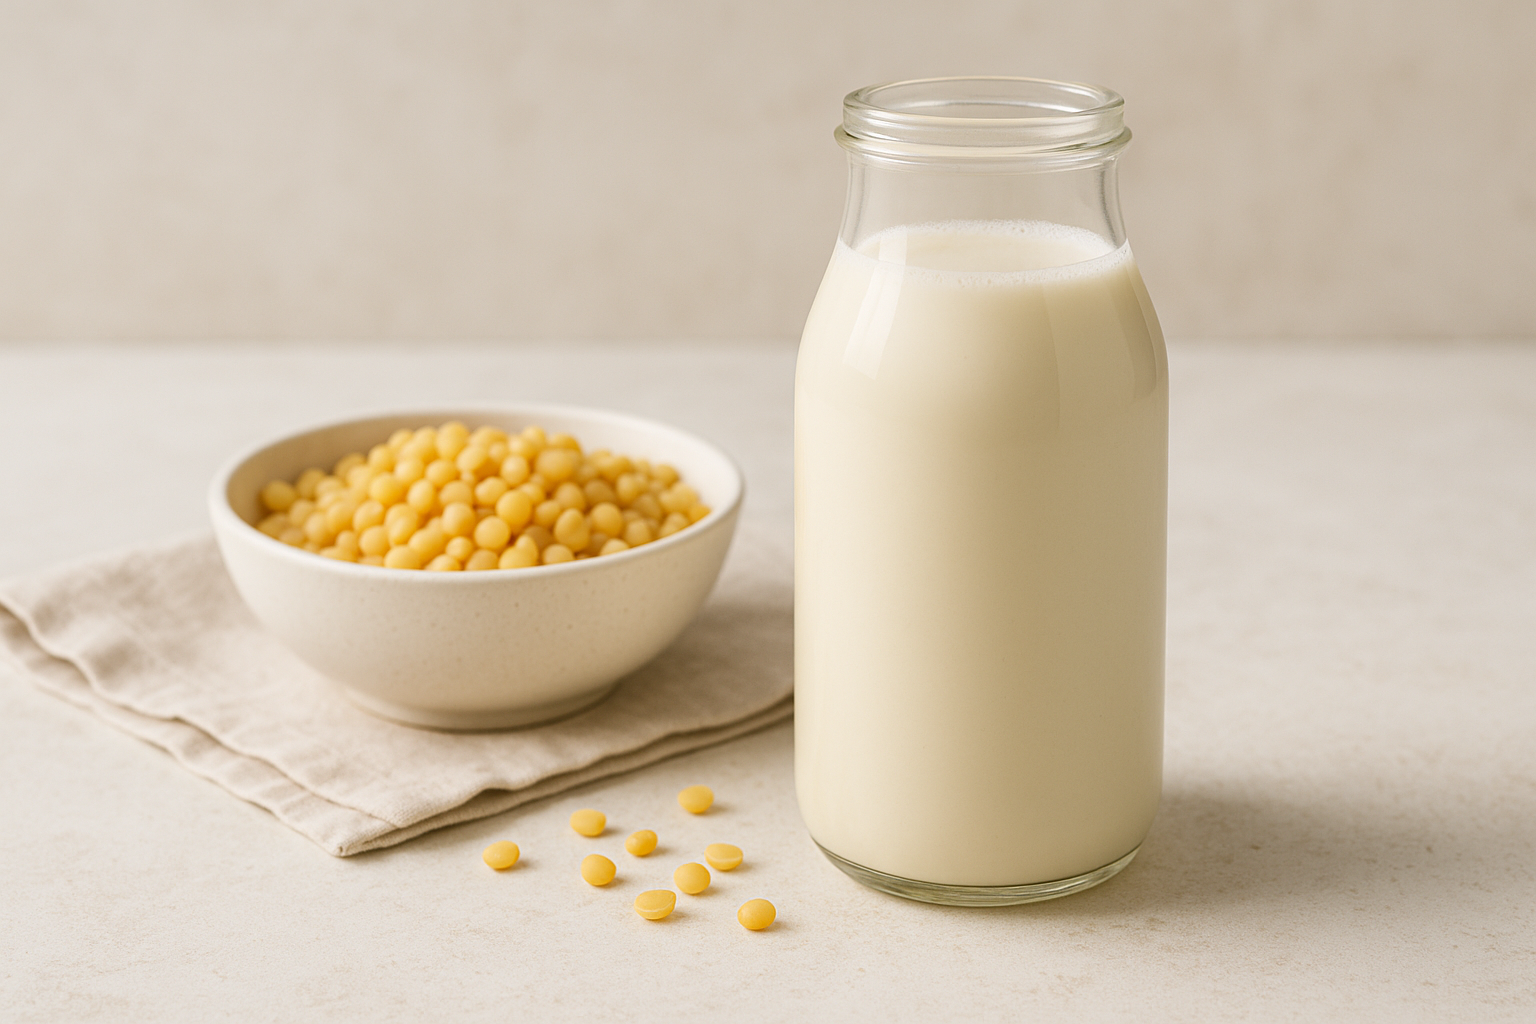
Image created for The Nutrient
A creamy, nut-free plant milk made from cooked yellow split peas.
Homemade Pea Milk uses cooked yellow split peas for a creamy, nut-free base suited to savory recipes and smoothies. Makes about 4 cups (roughly four 1-cup servings).
This recipe is part of The Nutrient’s complete plant milk guide, where you can compare 12 homemade plant milks and choose the best one for each use. For more plant-forward ideas, visit The Nutrient homepage.
Ingredients
Original recipe (1×) yields 4 servings
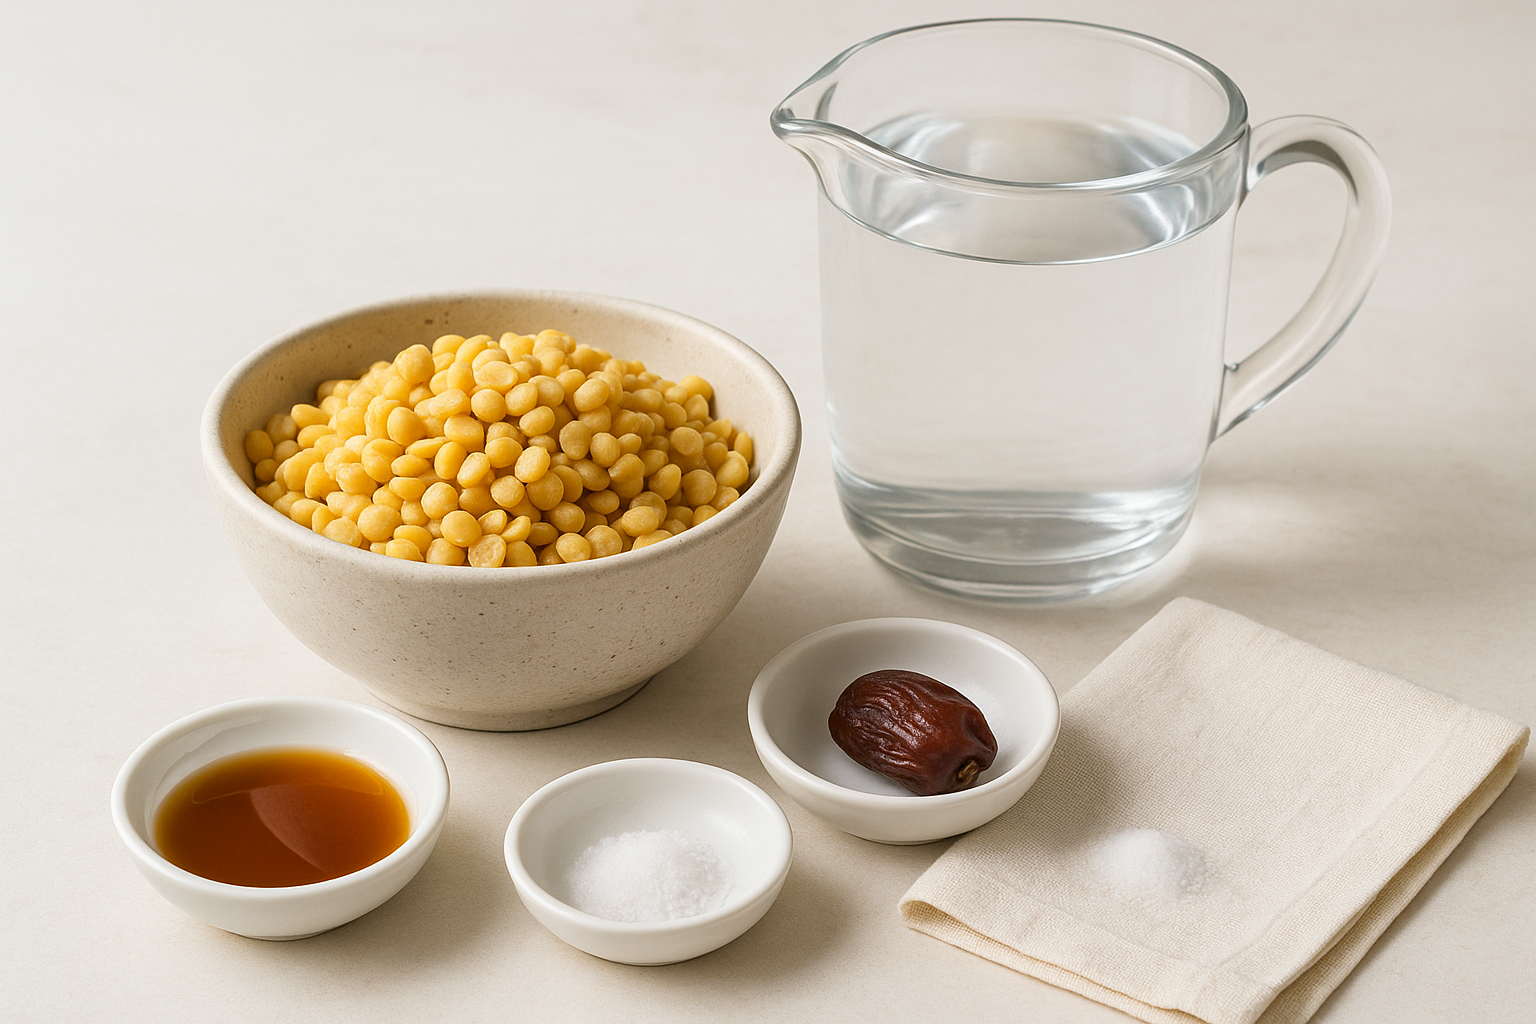
- 1 cup cooked yellow split peas, cooled (see note for cooking from dry)
- 4 cups cold water (use 3 cups for richer milk or 5 cups for lighter milk)?
- 1 teaspoon vanilla extract (optional for sweet uses)
- 1 pitted date, optional for mild sweetness
- Pinch of salt
Yield, prep and cook time
- Yield: ~4 cups (about 4 servings)
- Prep time: 10 minutes (plus cooling)
- Cook time: 25–35 minutes to tenderize dry split peas
- Total time: 35–50 minutes depending on cooling
Instructions
- Cook the peas if needed: if you start from dry, rinse 3/4 cup dried yellow split peas, then simmer in 2 to 3 cups water until very tender, 25–35 minutes; drain and cool to room temperature.
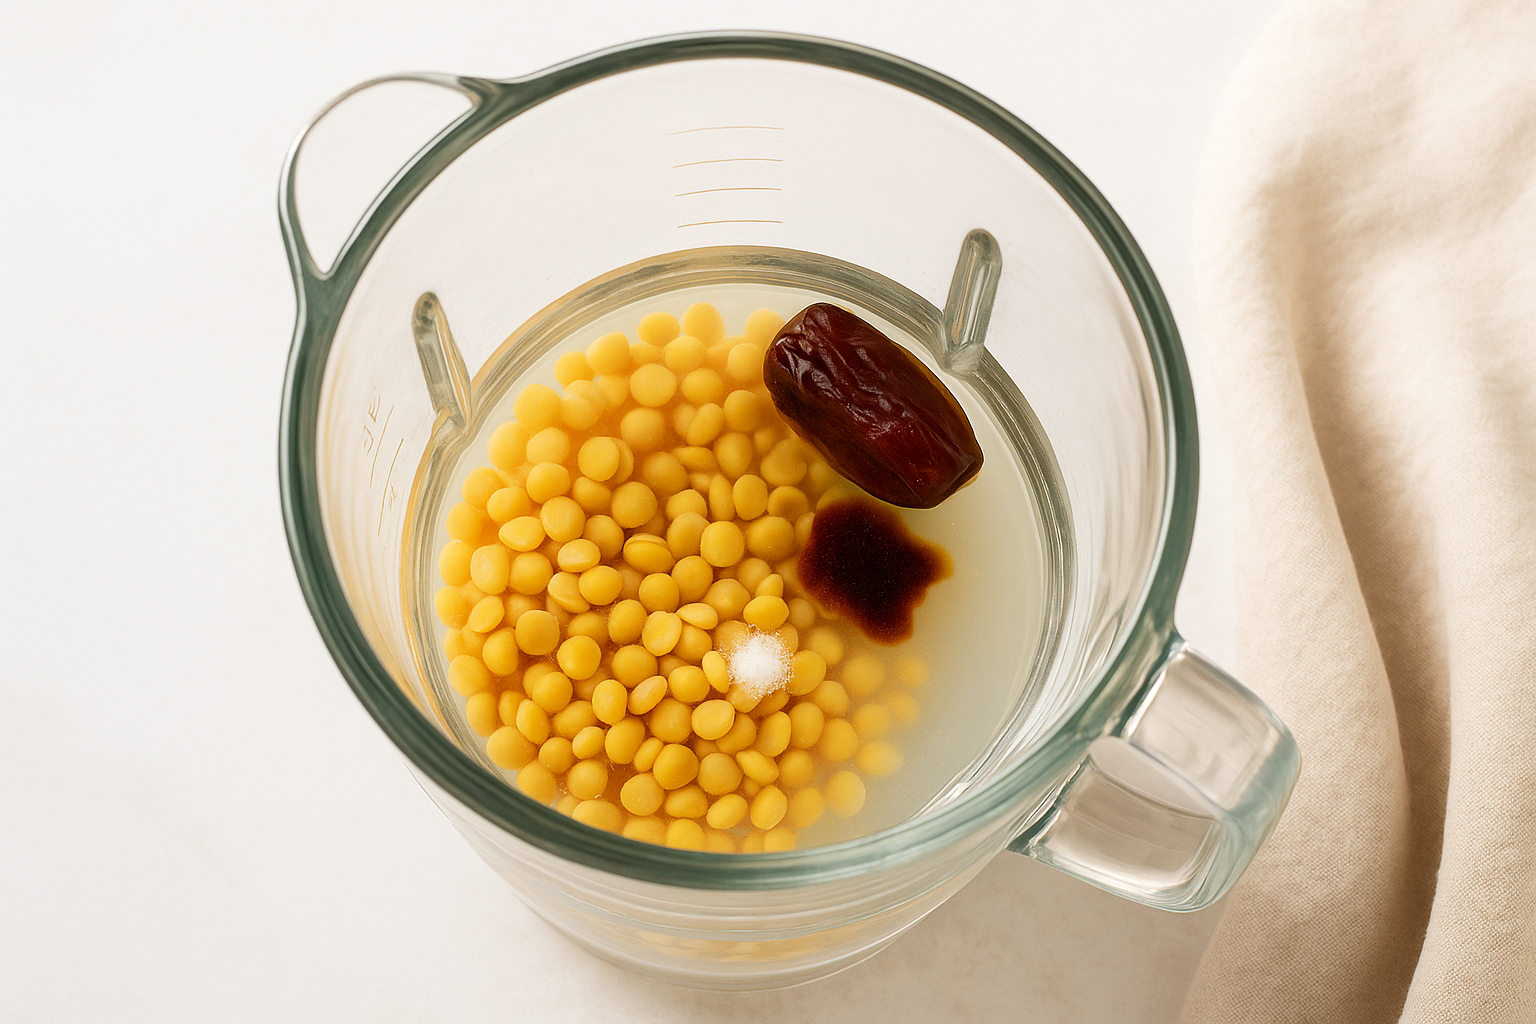
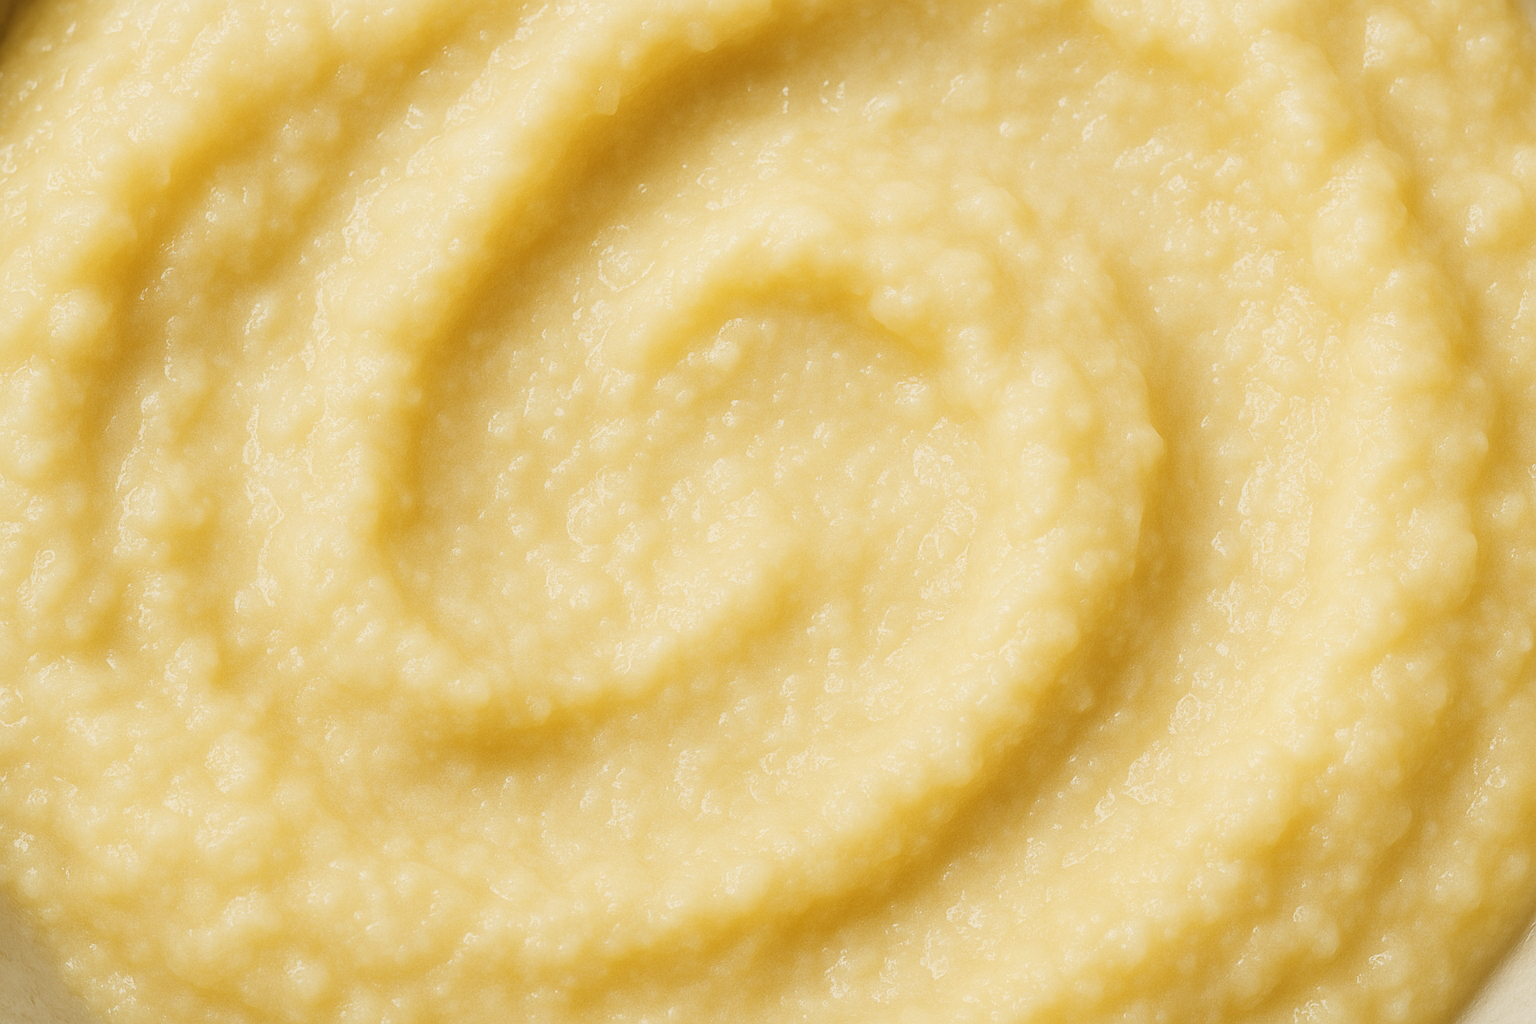
- Blend: combine 1 cup cooked peas and 4 cups cold water in a blender. Add vanilla and date for sweet uses, and a pinch of salt. Blend on high for 60–90 seconds until very smooth.
- Strain: pour the blend through a nut-milk bag, fine sieve, or double-layer cheesecloth into a bowl. For a thicker milk, press gently; for thinner milk, leave it looser.
- Chill and store: transfer to a clean covered bottle or jar. Chill before tasting because the flavor softens when cold. Shake well before each use.
Homemade Pea Milk: Best uses
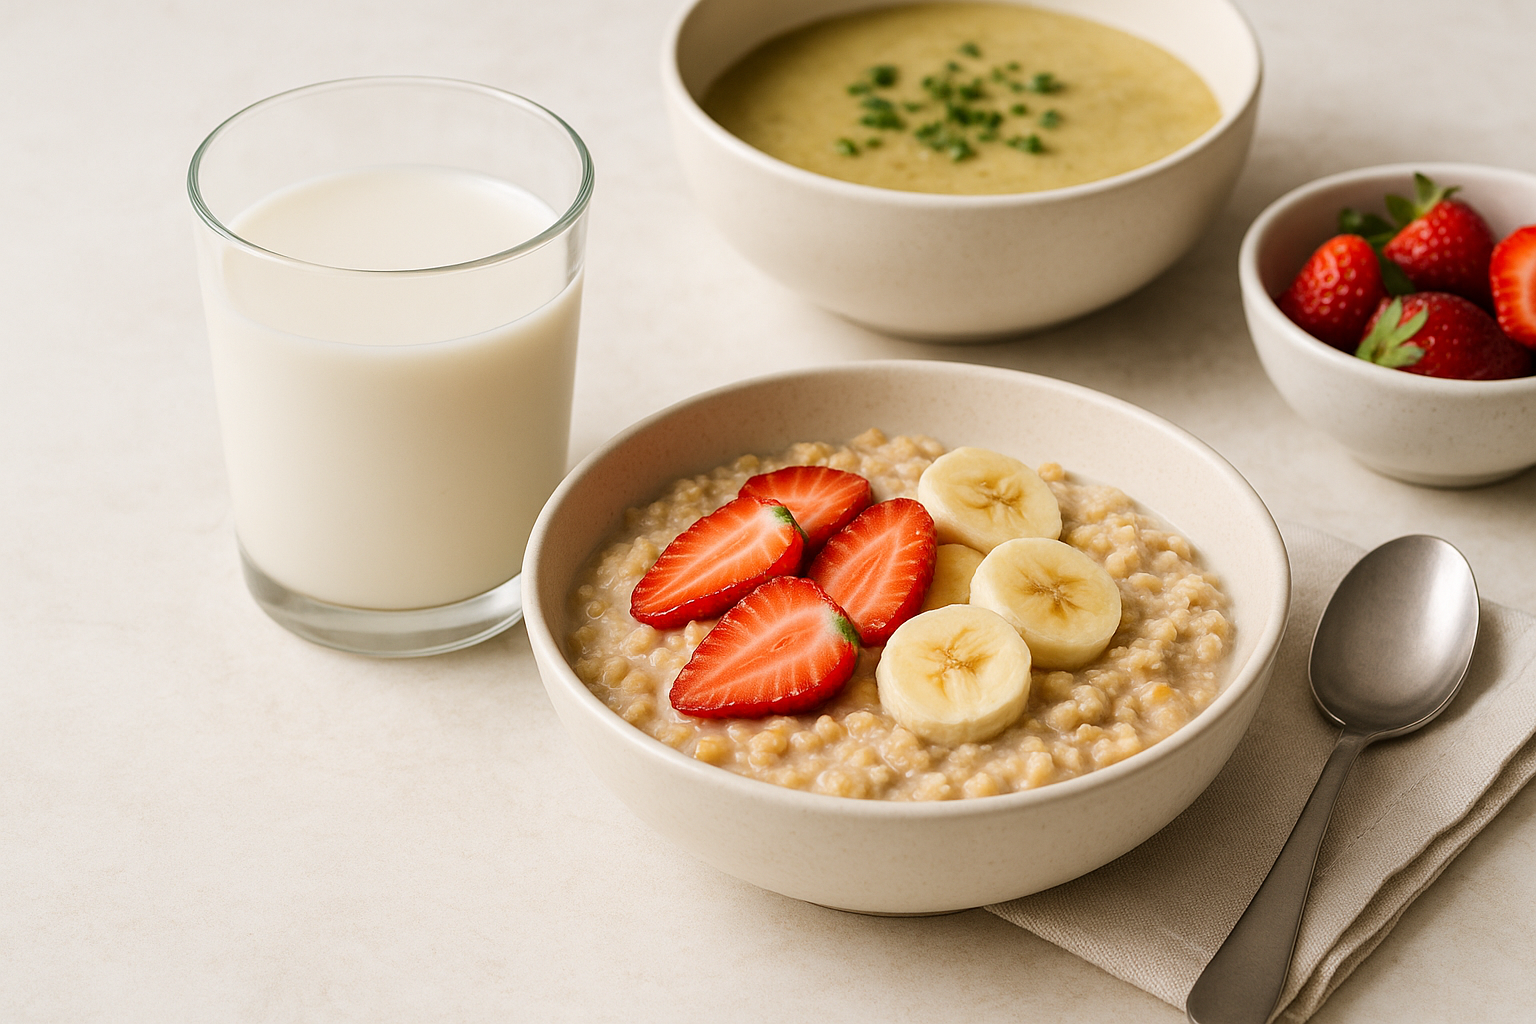
Use this pea milk in savory sauces, soups, smoothies, oatmeal, and baking. For example, choose the unsweetened and unflavored version for soups and sauces. Additionally, the richer (3 cups water) version works well in creamy dressings.
Save Time
- Prep: Measure the dry ingredients before cooking to streamline the process.
- Cleanup: Rinse the blender and straining cloth immediately after use to avoid residue build-up.
- Freeze: Freeze extra milk in ice cube trays or small containers for smoothies or cooking for up to 3 months.
Substitutions
- Sweetener: Omit the date for no added sweetness, or use 1–2 teaspoons maple syrup for a smoother sweet note.
- Vanilla: Skip it for savory recipes, or replace with a small pinch of cinnamon for baked goods.
- Thickness: Reduce water to 3 cups for creamier milk or increase to 5 cups for a lighter beverage.
- Oil/egg-free: This recipe is naturally egg-free and oil-free; therefore no special swaps are required for those needs.
Storage
Refrigerate in a clean sealed container and use within 3–4 days. Natural separation is expected; shake before pouring. Meanwhile, frozen portions keep up to 3 months; thaw overnight in the refrigerator. Discard if aroma, texture, or flavor changes.
Nutrition Facts
Estimated nutrition per serving
% Daily Value*
- Total Fat
- 0.5 g
- Saturated Fat
- 0 g
- Total Carbohydrate
- 14 g
- Dietary Fiber
- 2 g
- Total Sugars
- 1 g
- Protein
- 5 g
- Sodium
- 25 mg
Frequently asked questions
Why did my homemade milk separate?
Homemade plant milk contains no commercial emulsifiers. Separation is normal; shake it well before using.
Can I cook with it?
Yes. Choose the unsweetened version and omit vanilla for soups, sauces, and savory recipes.
Can I use the leftover pulp?
When pulp remains, refrigerate it promptly and use it in oatmeal, muffins, crackers, or smoothies within two days.
Nutrition values are approximate and vary with blending, straining, and serving size.

YOU MAY ALSO LIKE
Recipes with similar ingredients
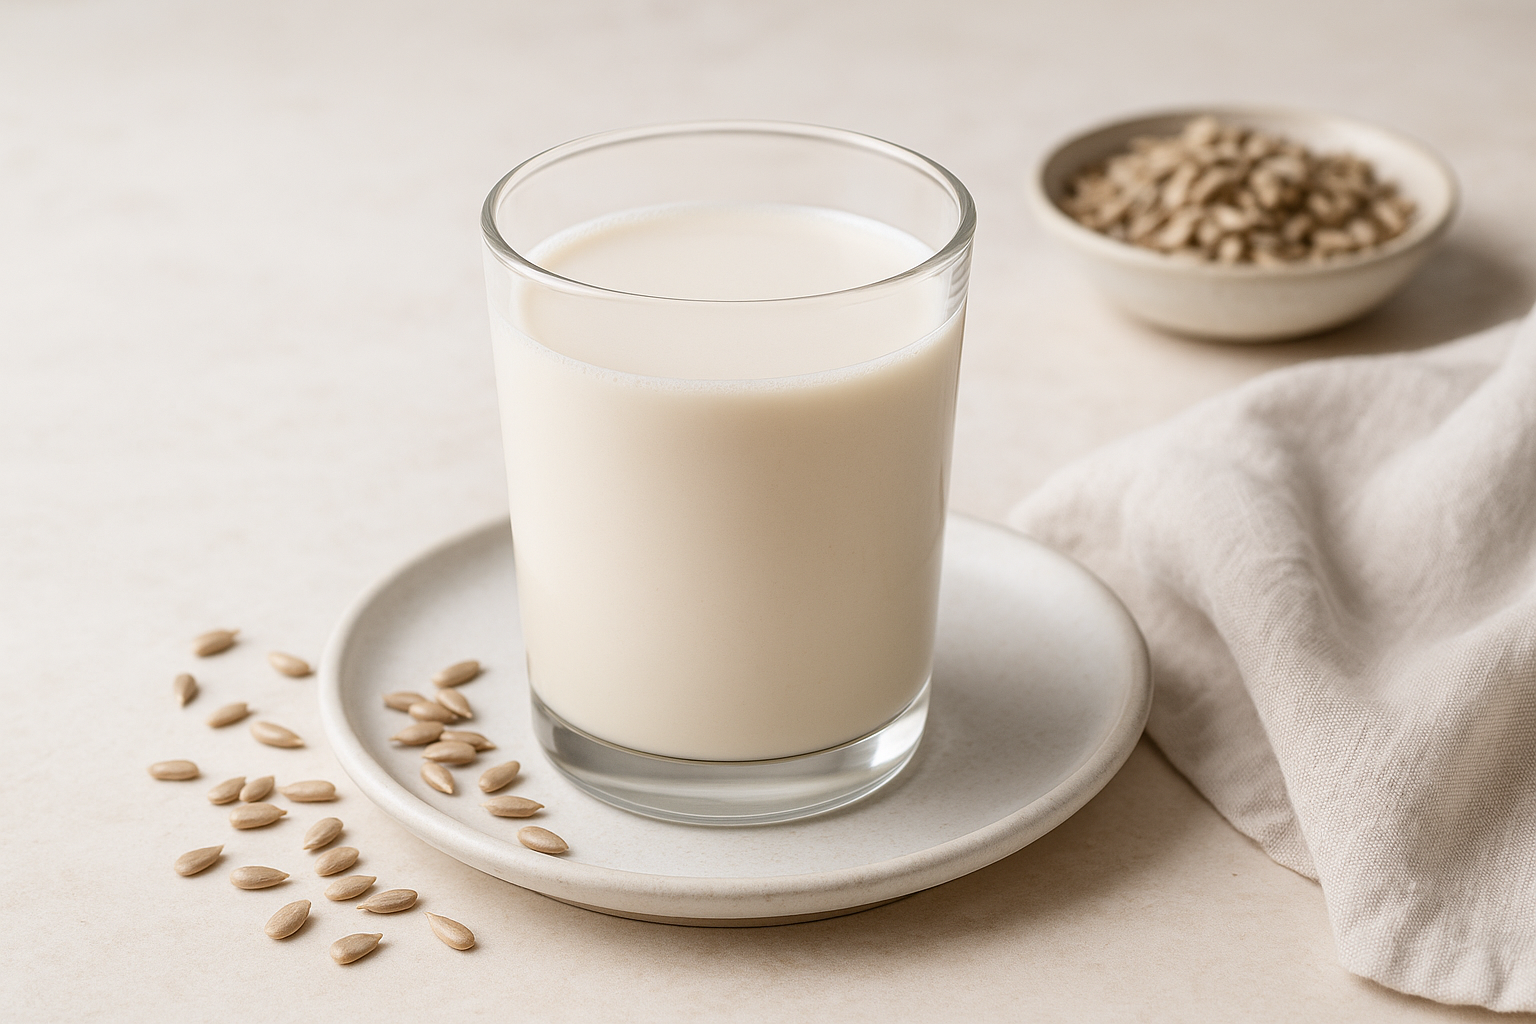 Homemade Sunflower Seed MilkShared ingredients: cold water, vanilla extract, pinch of salt
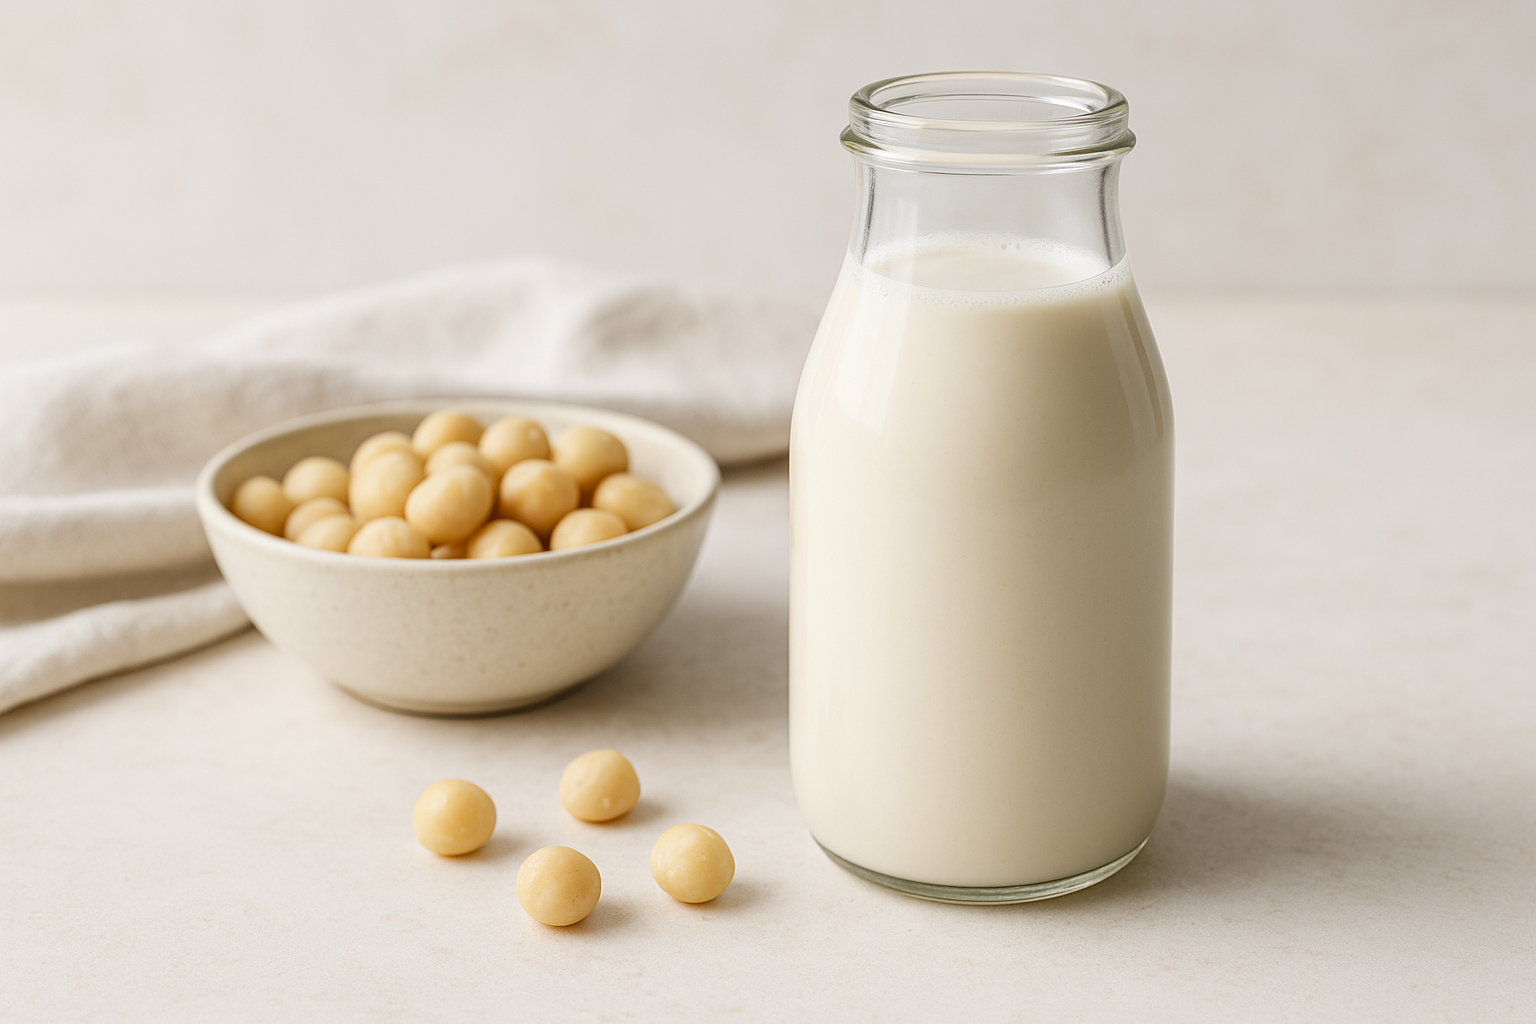 Homemade Macadamia MilkShared ingredients: cold water, vanilla extract, pinch of salt
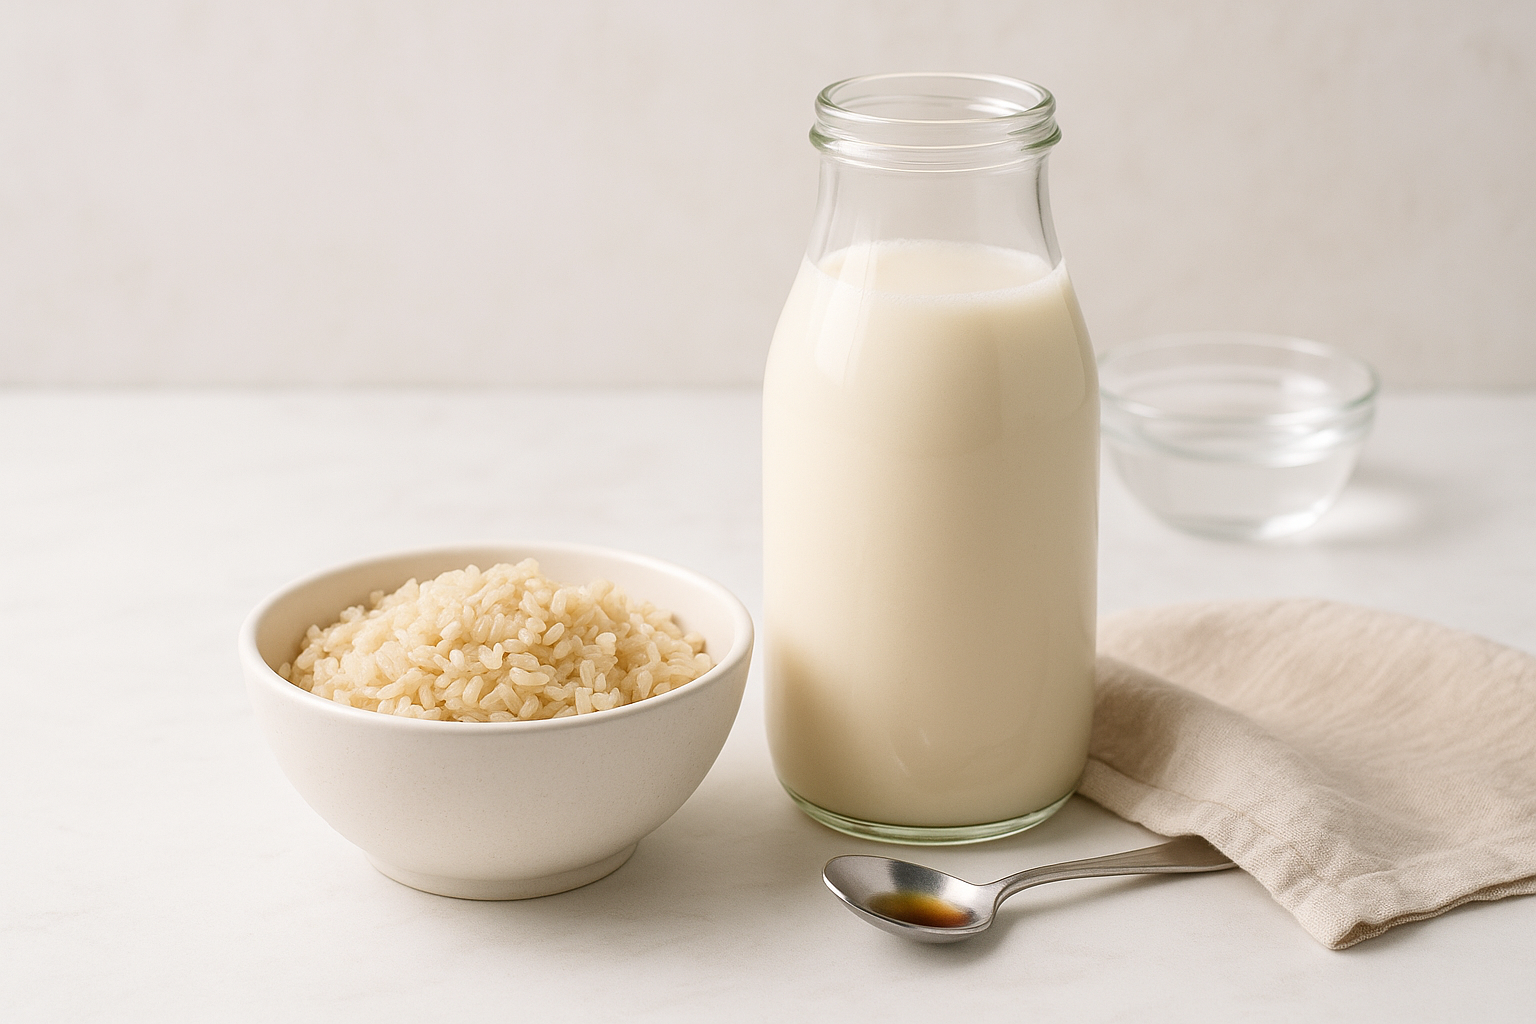 Homemade Rice MilkShared ingredients: cold water, vanilla extract, pinch of salt
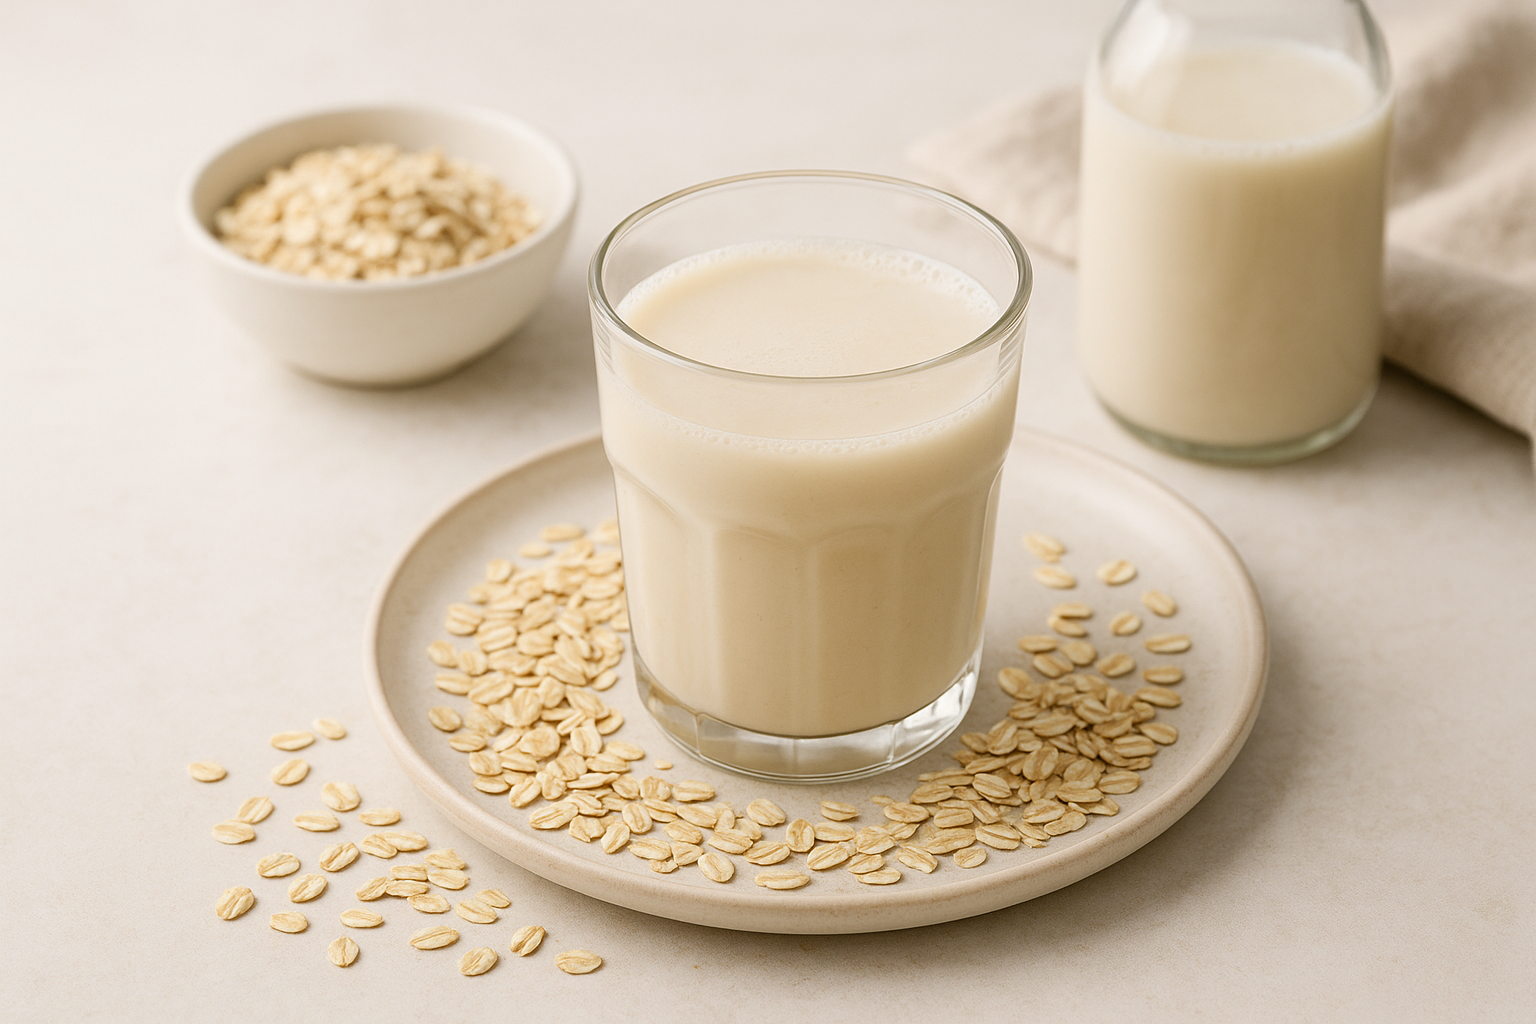 Homemade Oat MilkShared ingredients: vanilla extract, pitted date, pinch of salt
YOUR FEEDBACK
Was this page helpful?
Your answer helps us improve our recipes and guides.